There’s an expression in the photography world called ‘ESP’ which stands for ‘Expressions sell photographs’. It’s true, a lovely expression is the single most important thing in any portrait photo (unless it’s a silhouette).
However, portrait photography isn’t as simple as teasing out a beaming smile, or haughty laugh from your subject. If your captivating expression is complemented by delicious light and an intriguing environment then you have all the ingredients for a cracking image.
Whenever I photograph portraits these are some of the things I’m looking for when I scrutinize the location.
How to choose a great portrait location
Is it a meaningful location?
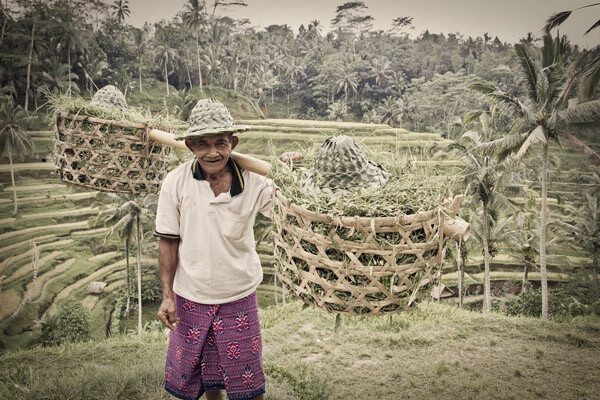
The first thing to do is ask yourself if the location adds to the story you’re trying to tell. For example, when I’m hired to create family portraits I always ask the family if there’s anywhere they like to go, a location to which they have a strong emotional connection. Sometimes they’re proud of their home or garden and we do the session there. Other times it will be in a wood where they walk their dog, or where they go picnicking on lazy summer days. This is far more meaningful to them than some sanitized image on a white background.
Your goal is to either choose a location that helps tell the story of the people in the portrait, or that gives the photo more emotional meaning to the people you’re photographing.
Areas of open shade
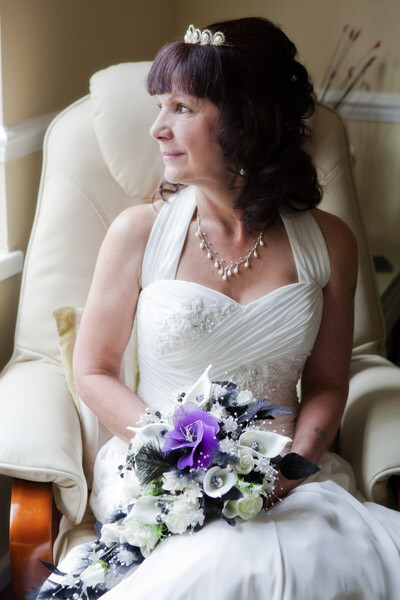
Every time a bride tells me they’re praying for a gloriously sunny wedding day I don’t have the heart to tell them I’m praying for some lightly diffused cloud cover with intermittent dashes of sunlight upon my express request.
Glaring sunshine causes harsh shadows, particularly in the most important part of the portrait – the eyes.
Open shade is ideal because it doesn’t have harsh sunlight falling directly on the subject, but because the shade is ‘open’ it means there’s still enough light to give the eyes some sparkle. A tree is a perfect example of open shade, so is window light. The subject is in shade but they’re not completely closed off as they would be in the centre of a room, or in a forest. Open shade offers you some nice, soft directional light that creates enough shadow on the face to create depth, but without being harsh.
Lead in lines
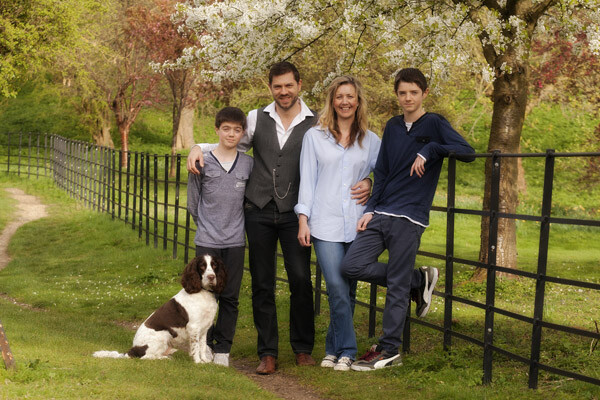
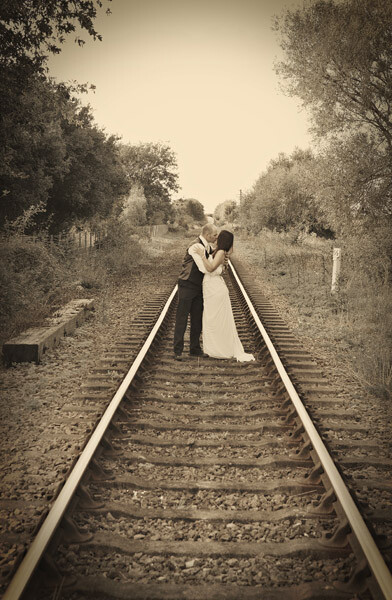
Lead in lines are just as helpful to portrait photography as they are to landscapes. They create depth to a photograph, lead you towards your subject and give the image a three-dimensional feel.
You can use fences, paths, a long twisting tree branch, the lines in a cornfield – anything that draws the viewer’s eye towards your model.
Twinkly leaves
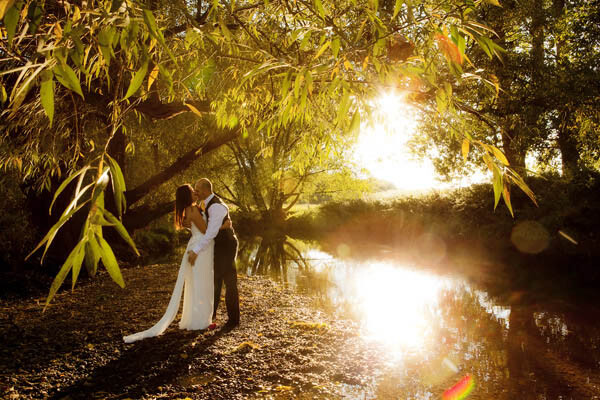
If you position your subject so there are back-lit leaves behind them then you’ll get a beautiful mosaic of green twinkles behind your subject if you use a low f-number on your camera (like f/4 for example).
With backlit subjects like this it’s often wise to use the spot metering mode to help your camera expose correctly for the face and avoid having a silhouette. Using a reflector to bounce some extra light into their face will help even more.
Tantalizing textures
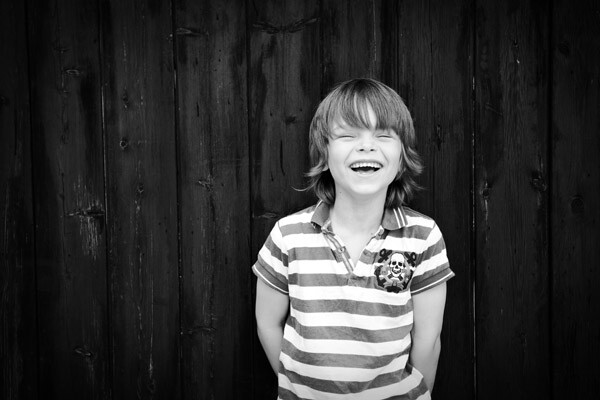
A barn door may not sound like a very exciting background, but rough textures can help the smoothness of your model’s skin pop out of the photograph. I also like rustic walls, and the repeating parallel lines of reeds.
Geometric shapes
Our brains like order. We like the pieces of the puzzle to fit together, which is probably why we get so frustrated when putting together flat-pack furniture! This is why our brains like the elements of a photograph to fit together like a completed jigsaw. I look for triangles, circles, rectangles and squares; and compose the image in a way that helps them fit together in harmony. This is also why we like clean, uncluttered hotel rooms that subtly use defined shapes, like the folded triangle of a bed sheet, or the repeating rectangles of a stack of towels.
When you start looking for shapes you’ll see them everywhere. Geometric shapes are often the basis for modern art and when you deconstruct many great photos into line drawings they’ll often look like that.
Foreground, mid-ground and background
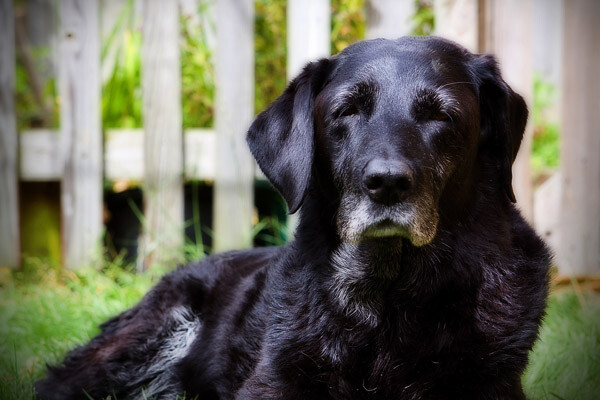
To give your images depth and a three-dimensional feel you need the viewer’s eye to find interest in the front, middle and background of the photo. Diffused blades of grass could be the foreground, a smiling toddler can be the mid-ground and sunlight sparkling through a tree could be the background.

Avenues of trees
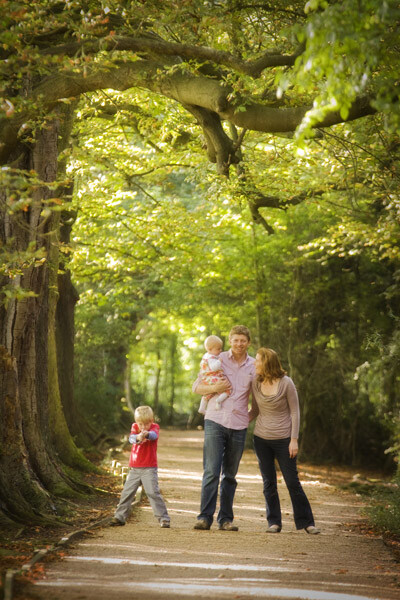
I love the effect you get when photographing people in an avenue of trees, using a long lens, because it ticks nearly all the boxes in one go. The leaves provide the necessary shade while the path provides a lead in line and creates depth in the photo. The long lens helps produce a fabulous tunnel vision effect that draws you in and helps to frame the photo, along with the trees themselves.
The next time you decide to photograph someone use these tips and place your subject in the best position to ensure great light and cracking composition. If you have any questions then I’ll be happy to answer them below.
source : Digital Photography School
Tidak ada komentar:
Posting Komentar