1 – Use a good tripod with a sturdy ball head and make sure everything is TIGHT
Seems obvious, but time and time again I see students using decent tripods and they often don’t have everything clamped down tightly. For example, the attachment that is screwed to the underside of your camera should be as tight as you can get it, eventually it’ll work its way loose. Make sure that ball head is completely locked down once you’ve composed your shot.
2 – While taking the shot, don’t place your hands on your tripod
The vibrations of your hands will blur the shot. When that shutter opens, your hands should be nowhere near the camera.
3 – Use the 2 second timer or a remote shutter release
This insures that the shutter won’t open until you are completely hands free.
4 – Cheap lenses will defocus while you rotate your circular polarizer
This is another one that seems obvious but I’ve seen it happen a lot. Let’s say you’ve achieved perfect focus on your landscape composition and now you’d like to rotate the polarizer which is attached to your perfectly focused lens. Guess what, as you rotate that filter, the lens is now losing its focus because of the movement and pressure you’re exerting on the filter. This rarely happens with high end lenses but I’ve seen it happen a lot with cheaper kit lenses that are poorly engineered. When this happens simply remember to refocus before hitting the shutter.
5 – Enable the mirror lock-up if you have a DLSR
Using mirror lock-up ensures that the mechanical shock induced by the cameras mirror mechanism has dissipated by the time the shutter opens.
6 – Remove your camera strap
In windy situations it will act like a sail and induce vibration.
7 – Add some weight to your tripod’s central column
If the conditions are windy, it will also help reduce vibration.
8 – Place a small but heavy bean bag on your camera and lens
Do this just before taking the shot to further eliminate movement from shutter shock.
9 – Choose a Mid-range to Narrow Aperture
This one should be an article in itself but for now it’s important to understand that if you want corner to corner focus in your landscape images you’ll need to select an aperture that gives you a wide depth of field. Using f/2.8 is pointless, so pick an aperture like f/11 or f/16 depending on how close you are to your foreground subjects. Be aware however that the narrower the aperture (larger number like f/22) the less sharp your image will be due to light diffraction so experiment with your lenses to discover their sweet spot for wide depth of field.
Side Note: Shallow depth of field in landscapes can be beautiful when done well, in which case you’ll need a wide aperture like f/2.8 and ideally a lens that delivers beautiful bokeh – most super wide angle lenses don’t do bokeh well.
10 – Focus In the Distance
Don’t focus on the object closest to you. Pick an object in the middle distance that has a clear contrasting line and focus on that. You could focus to infinity but beware that most of the wide angle lenses I’ve used actually focus beyond infinity so I often have to focus to infinity and then carefully rotate the focus wheel back so that it’s just slightly before the ‘infinity’ mark.
11 – Put Your Glasses On
If you need glasses in order to see clearly and focus on things, it should go without saying that you might need to put on your stylish and expensive bifocals in order to achieve clear focus in your photography. Besides, everyone knows that glasses make you look cool and more intelligent, so why not put them on?
12 – Use Live View or EVF magnification
If you have a DLSR with an optical viewfinder I highly recommend that you use your cameras ‘Live View’ mode and then magnify it to your point of interest and use your manual focus ring to achieve sharp focus If your camera has an EVF (Electronic View Finder) you can do the same thing while looking in the EVF. I actually prefer this because you don’t get distracted by glare on the LCD or external light sources. Either way, remember to disable auto focus if you decide to focus manually with Live View.
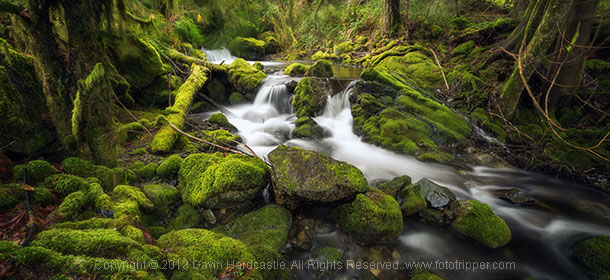
I use every single one of these techniques in my Vancouver Island photo workshops and I teach them to all of my students. If you follow these tips every time you shoot landscapes, you’ll be sure to get much sharper images. If you’ve got some of your own tricks and tips for getting super sharp landscape images please leave a comment below and share your knowledge.
source : Digital Photography School
Tidak ada komentar:
Posting Komentar